
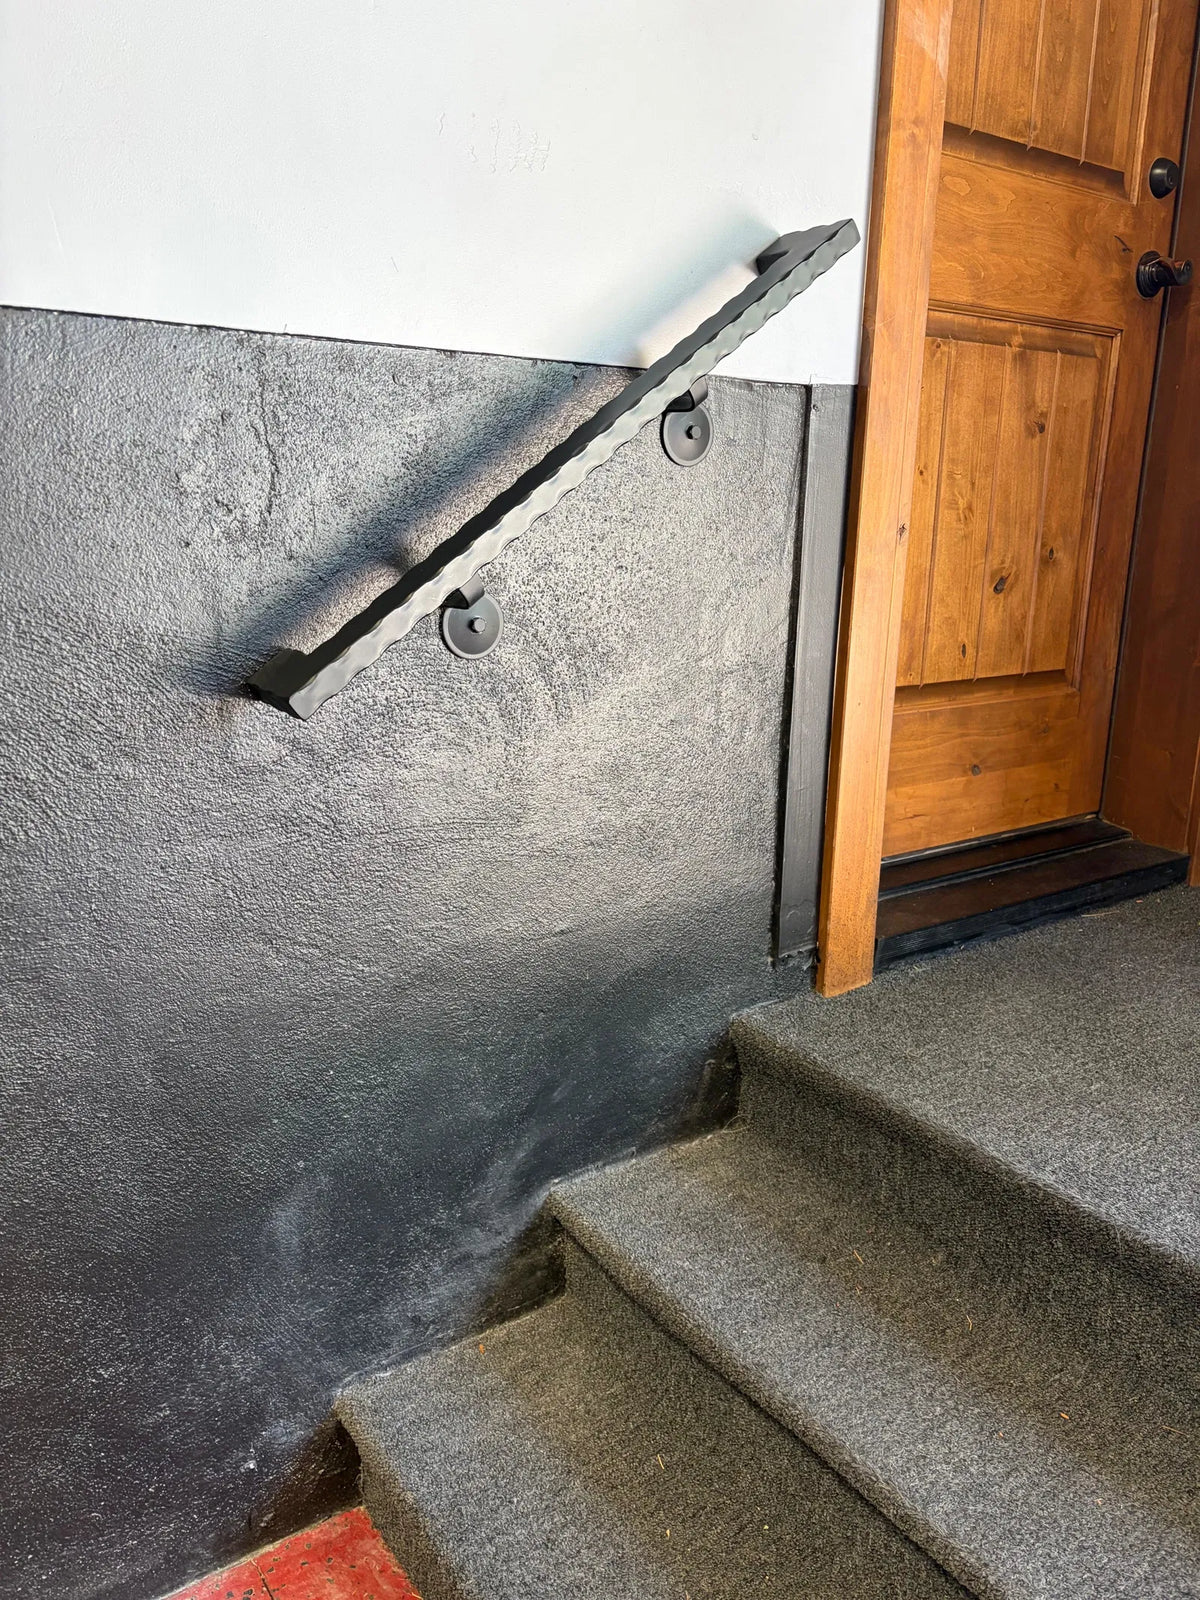
Stair Handrail Installation Process: Steps for a Secure and Professional Finish
The stair handrail installation process is an important part of making a staircase safer and easier to use. A well-fitted handrail gives people a stable point to hold while moving up or down the stairs. It can also improve the look of an entryway, hallway, or other stair area. Before starting, it helps to understand the right tools, mounting points, measurements, and installation steps.
For many homes, the right handrail can also add a clean design detail. Options such as metal handrails can provide strength while fitting both modern and traditional interiors.
Key Takeaways
-
Measure the staircase before buying or cutting the handrail.
-
Mark mounting points before drilling any holes.
-
Attach brackets to solid framing whenever possible.
-
Keep the rail at a safe and comfortable height.
-
Check that the finished rail feels firm before use.
-
Follow local building rules for stair safety.
-
Use the right hardware for the wall or stair structure.
What to Check Before Starting the Installation
A good installation starts with planning. Do not begin by drilling the first hole you see. Look at the full staircase and decide where the rail should start and end. Check the wall surface, stair layout, and available support points. This early planning can help prevent uneven placement, weak mounting, and unnecessary repairs later.
Before beginning, check these items:
-
Stair length and slope
-
Wall or post condition
-
Location of studs or solid framing
-
Desired handrail height
-
Bracket spacing
-
Handrail length
-
Type of mounting hardware
-
Local safety requirements
The wall material also matters. A bracket mounted into a wood stud is usually more secure than one fixed only into drywall. Masonry walls may require different anchors and drilling tools.
Choosing the Right Rail and Hardware
The handrail should match both the staircase and the structure supporting it. Consider the material, shape, length, finish, and weight of the rail. The hardware must also be strong enough for the installation surface. A good match between the rail and mounting system helps create a firm result.
Common options include:
-
Wood handrails
-
Steel handrails
-
Aluminum rails
-
Wrought iron styles
-
Wall-mounted rails
-
Post-mounted rails
For exterior projects, outdoor handrails need to handle weather, moisture, temperature changes, and regular use. Stainless steel, galvanized steel, aluminum, and properly finished iron may be suitable depending on the project.
Measure the Staircase Carefully
Accurate measurements are one of the most important parts of the job. Measure the total area where the rail will run. Then decide where the rail should begin and finish. Take your time during this stage because even a small measurement error can affect the final position.
Record the following measurements:
-
Total handrail length
-
Stair angle
-
Distance from stair edges
-
Planned rail height
-
Bracket locations
-
Distance between mounting points
Use a tape measure and level where needed. Mark every point clearly with a pencil. If the rail has angled ends or returns, account for those details before cutting.
Plan the Mounting Points
Strong handrail mounting starts with finding secure points behind the wall surface. When possible, brackets should connect to wall studs or other solid structural support. This gives the rail a stronger base than relying only on drywall anchors.
A typical planning process includes:
-
Locate wall studs.
-
Mark the planned bracket positions.
-
Check the marks with a level.
-
Confirm the spacing looks even.
-
Make sure the rail will clear nearby walls and trim.
-
Check that the mounting hardware matches the surface.
Do not assume that every wall can support the same type of fastener. Brick, concrete, wood, drywall, and metal framing may require different hardware.
Cut and Prepare the Handrail
Once the measurements are confirmed, prepare the rail. If the handrail needs to be cut, use a tool designed for the material. A clean cut helps the finished rail look more professional and makes end fittings easier to install.
After cutting, check each end for rough edges. Depending on the material, you may need to:
-
Sand sharp edges
-
Remove burrs
-
Clean the surface
-
Apply a suitable protective finish
-
Fit end caps or returns
-
Check the rail against the planned mounting points
Avoid rushing this stage. Small preparation details can make a major difference to both appearance and safety.
Stair Handrail Installation Process: Step-by-Step
The actual stair handrail installation process should be completed in a controlled order. Start with the mounting brackets, then secure the rail and inspect every connection. Following the same sequence helps reduce mistakes and makes it easier to find problems before the staircase is used.
Step 1: Mark the Bracket Positions
Use your earlier measurements to mark each bracket location. Check the marks with a level and measuring tape. Make sure the locations provide enough support for the rail.
Do not drill until you have checked all points twice.
Step 2: Drill the Mounting Holes
Select a drill bit that matches the wall material and fasteners. Drill carefully at the marked locations. Avoid oversized holes because they can reduce the grip of some anchors.
If you encounter a stud or solid framing member, use suitable screws designed for that material.
Step 3: Install the Brackets
Secure each bracket according to the manufacturer's instructions. Tighten the fasteners firmly, but avoid over-tightening them. Over-tightening can damage some materials or hardware.
After installing the brackets, give each one a gentle check by hand. They should not move, twist, or pull away from the wall.
Step 4: Position the Handrail
Place the rail onto the brackets. Check that it sits evenly and follows the intended line of the staircase. This is a good time to step back and inspect the overall appearance.
Check for:
-
Uneven sections
-
Loose brackets
-
Sharp edges
-
Poor clearance
-
Incorrect rail position
-
Gaps between fittings
Step 5: Secure the Rail
Once the position is correct, attach the handrail to the brackets. Use the recommended screws or fittings for the rail material. Tighten each connection evenly.
Do not rely on the weight of the rail to keep it in place. Every connection should be properly secured.
Step 6: Test the Finished Rail
After installation, test the rail by applying steady hand pressure at different points. Look for movement, noise, or loose hardware. A properly installed rail should feel firm.
If anything moves, stop and inspect the mounting points before allowing regular use.
Practical Tips for a Better Installation
Good planning can make stair work much easier. Even a simple project can become difficult if measurements are skipped or unsuitable hardware is used. The following stair railing installation tips can help improve the final result while reducing common mistakes.
Keep these tips in mind:
-
Measure twice before cutting.
-
Use a level to check alignment.
-
Find solid mounting points.
-
Match anchors to the wall material.
-
Do not overload weak mounting points.
-
Check every bracket before finishing.
-
Smooth sharp rail edges.
-
Test the finished rail before use.
It is also useful to have another person help during installation. One person can hold the rail while the other checks measurements and secures the hardware.
When a DIY Installation May Not Be the Best Choice
A DIY handrail guide can help homeowners understand the basic process, but not every staircase is a simple project. Some staircases have unusual shapes, open sides, complex landings, or difficult wall conditions. Older homes may also have hidden structural issues.
Professional help may be worth considering when:
-
The wall has uncertain structural support.
-
The staircase has an unusual design.
-
The rail requires complex angles.
-
Masonry drilling is required.
-
Structural repairs are needed.
-
Local requirements are difficult to interpret.
-
The finished rail must meet commercial standards.
A professional can also help with accurate measurements, material selection, fabrication, and final fitting.
Indoor and Outdoor Rail Applications
Handrails can be used in many parts of a property. The best material and mounting method depend on the location. Indoor stairs usually face fewer weather concerns, while exterior installations must handle rain, humidity, sunlight, and temperature changes.
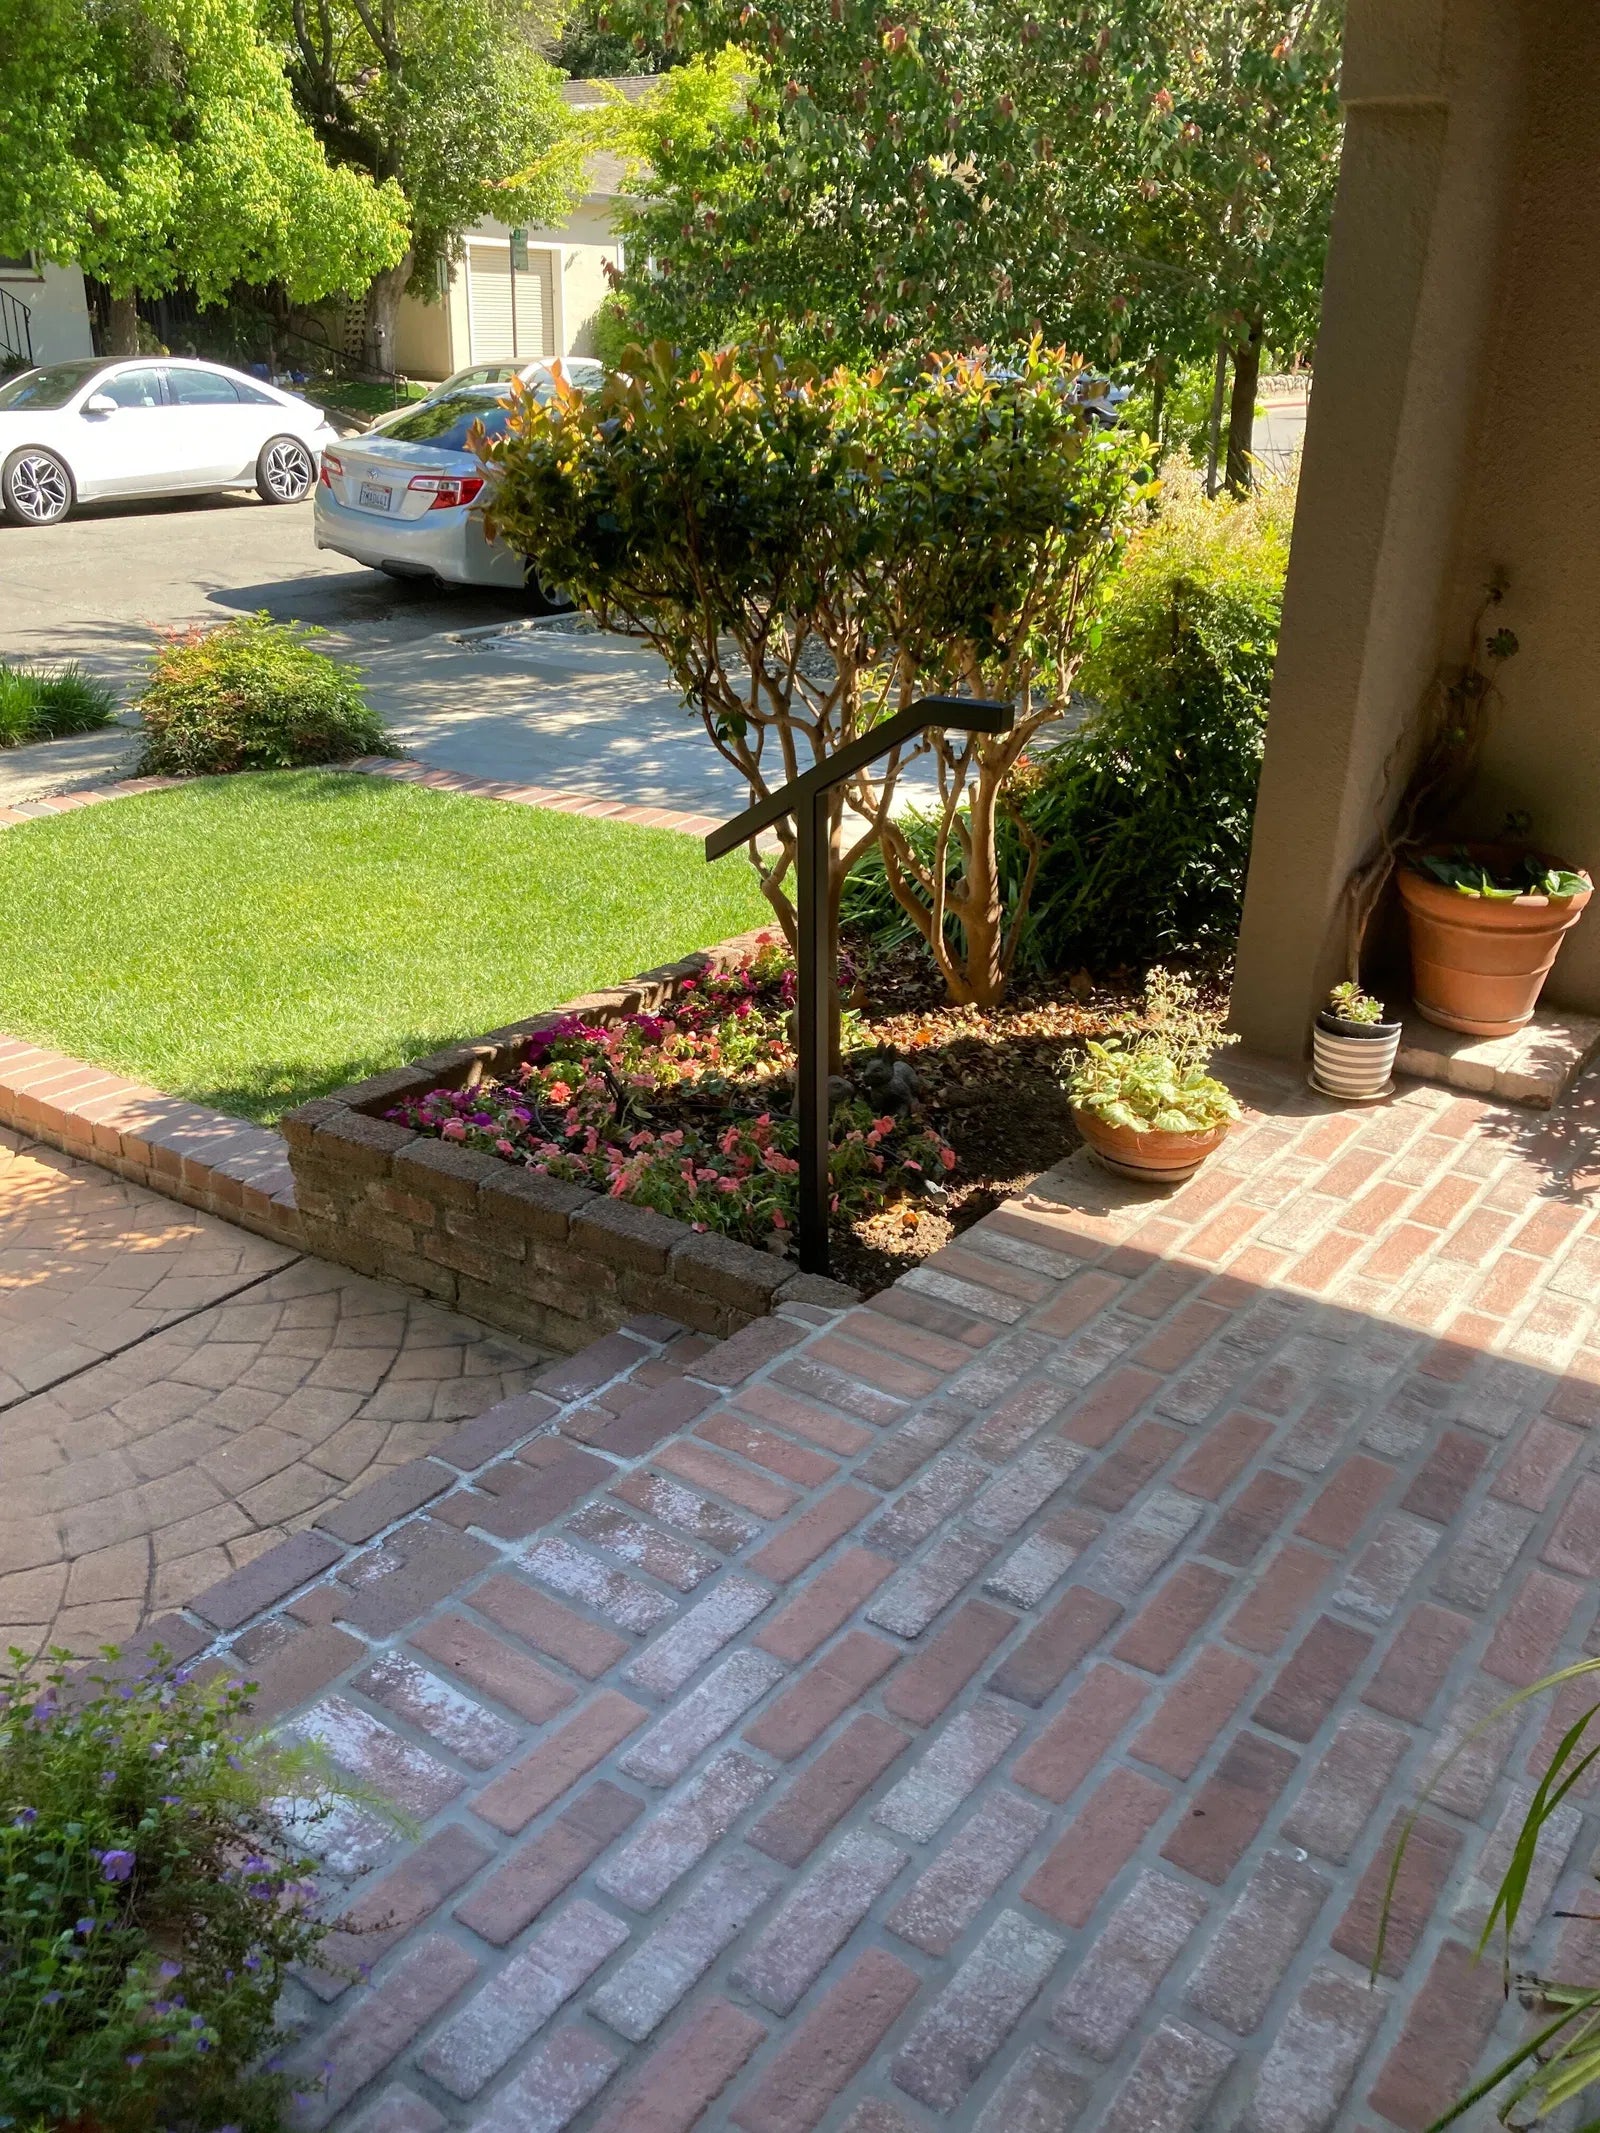
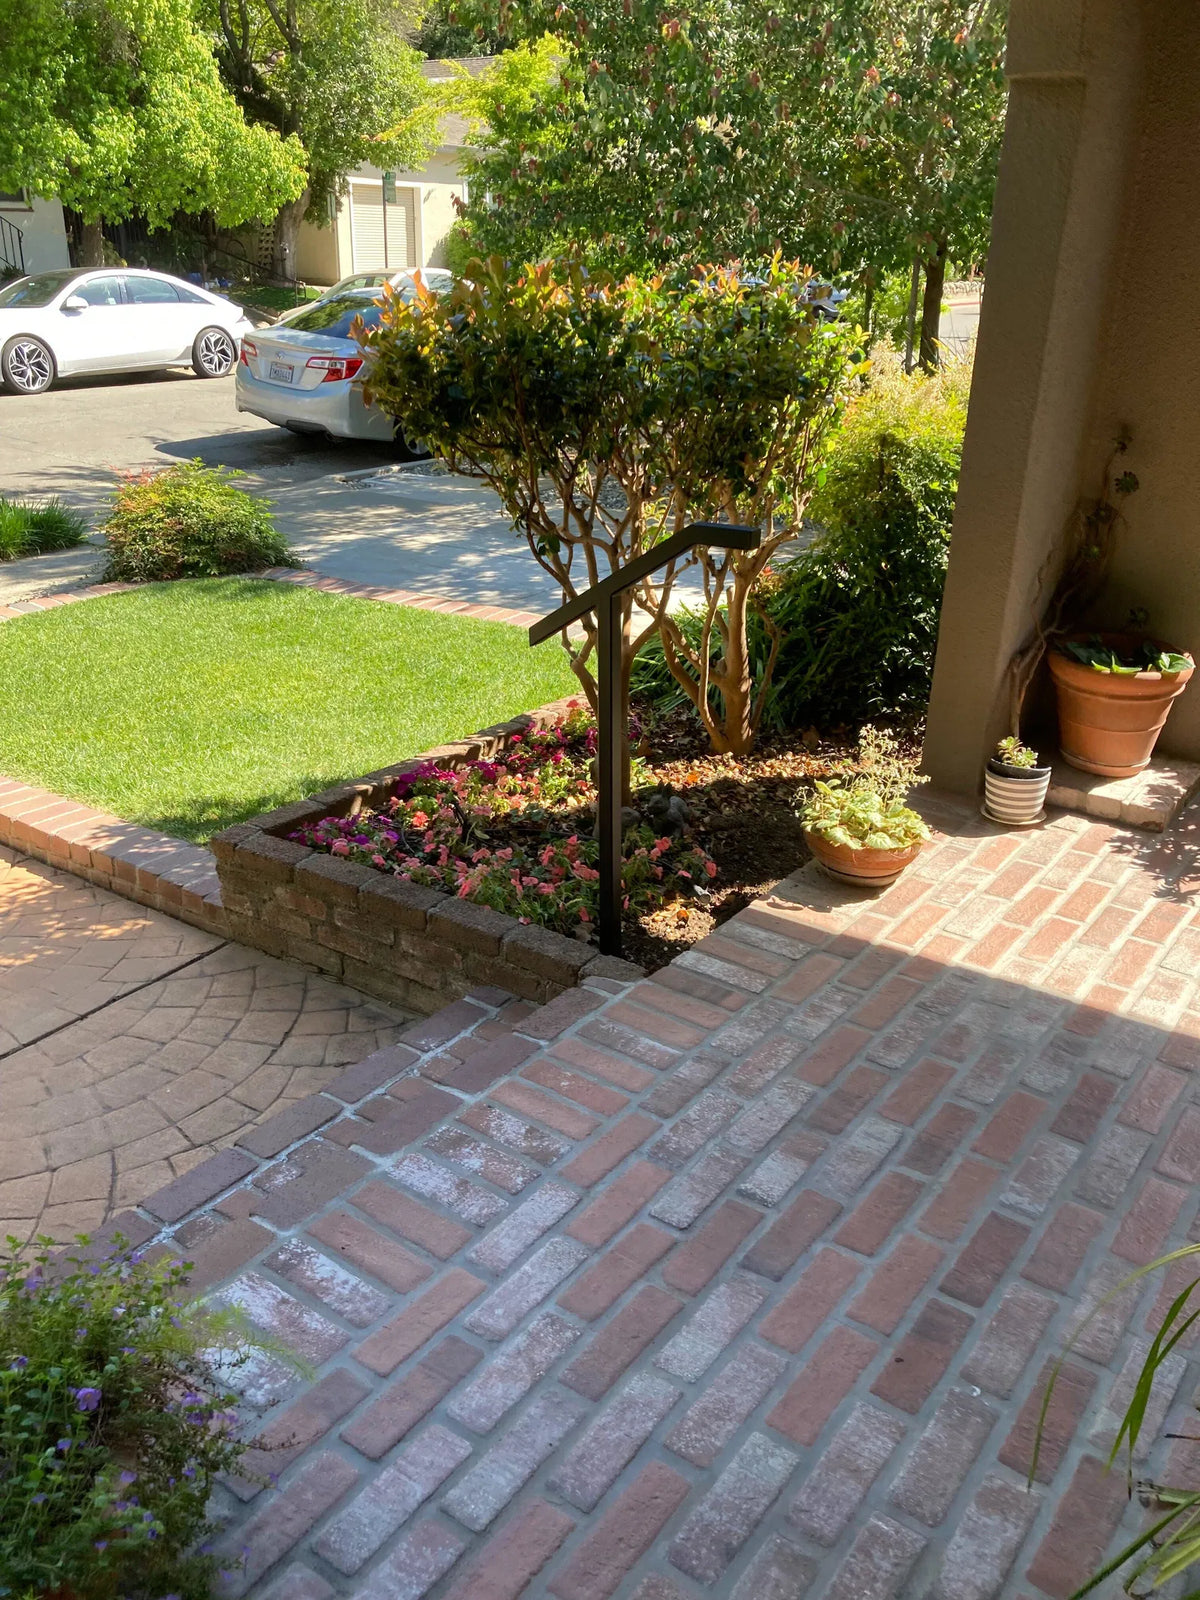
For example, metal handrails for porch projects can provide a strong support point near an entrance. Similar solutions can work on exterior stairways where weather-resistant materials are needed.
For outdoor stair areas, metal handrails for outdoor steps can offer a durable option when properly finished and maintained.
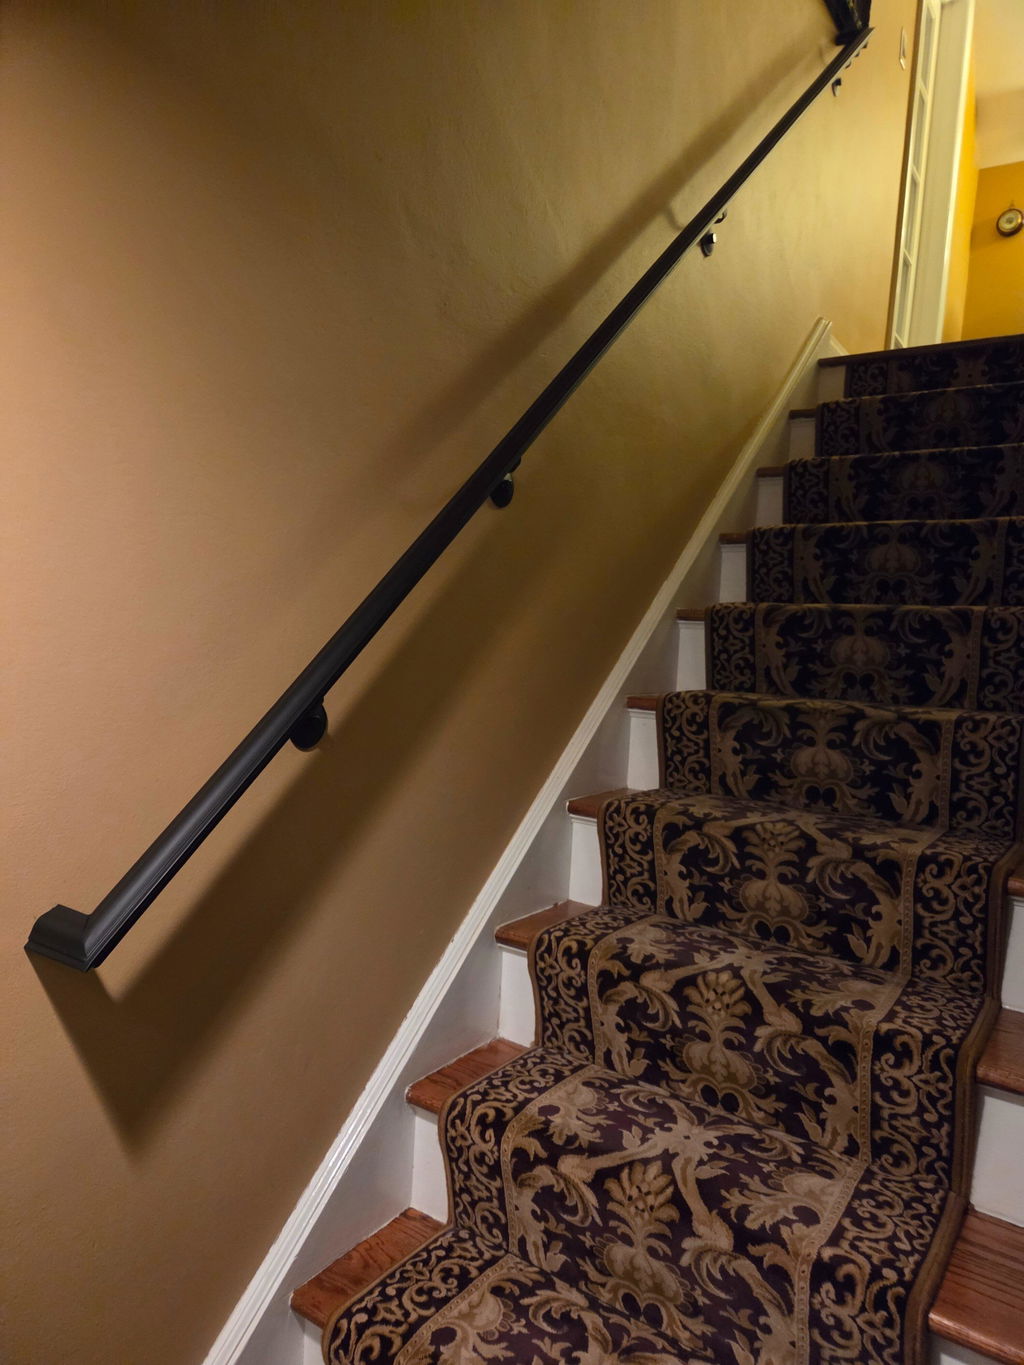
Inside the home, metal stair rails can create a simple, strong look while working with different staircase designs.
For contemporary homes, metal stair railings interior designs can also pair well with wood stairs, glass features, or simple wall finishes.
How Other Metal Products Can Complement a Home
A staircase project may also inspire other metal design updates around the home. Metal can be used for more than railings. It can provide support, structure, and visual contrast in furniture and other home features.
Some related applications include:
-
custom table legs for dining or work tables
-
decorative wrought iron table legs for traditional furniture
-
black metal table legs for modern interiors
-
kitchen table legs metal designs for durable dining spaces
These products can help create a consistent look when metal details are used across different rooms.
Safety Checks After Installation
Never consider the project finished just because the rail looks level. The final safety check is just as important as measuring and drilling. Walk up and down the stairs and use the rail as a normal person would. Look for anything that feels unstable or uncomfortable.
Complete these final checks:
-
Push gently against the rail at several points.
-
Check every bracket for movement.
-
Inspect screws and anchors.
-
Look for sharp edges.
-
Confirm the rail is easy to grip.
-
Check that the rail does not obstruct the stair path.
-
Review applicable local requirements.
Maintaining a Stair Handrail
A handrail needs regular care after installation. Dirt, moisture, loose fasteners, and surface wear can affect its condition over time. A quick inspection every few months can help identify problems before they become serious.
A simple maintenance routine includes:
-
Wipe down the rail regularly.
-
Check mounting screws.
-
Inspect brackets for movement.
-
Look for rust or surface damage.
-
Check end fittings.
-
Repair damaged finishes when needed.
Exterior rails may need more frequent inspections because they are exposed to changing weather conditions.
Conclusion
A secure handrail depends on more than simply attaching a rail to a wall. Careful measurements, strong mounting points, suitable hardware, and proper testing all play an important role. By following each stage of the stair handrail installation process, homeowners can create a rail that is useful, stable, and suited to the staircase.
The right design can also improve the overall look of the space while adding practical support. Whether the project involves an indoor staircase, porch, or outdoor steps, careful planning helps produce a better result.
For help choosing the right railing or metal products for your project, contact TLB Metal Products today to discuss your needs.
FAQs
How long does stair handrail installation take?
A simple wall-mounted handrail may be installed within a few hours when measurements, materials, and mounting points are ready. More complex staircases can take longer, especially when custom fabrication, masonry work, or unusual angles are involved.
How do I know where to mount a handrail?
Start by measuring the staircase and identifying solid structural points behind the wall. Mark the bracket positions based on the rail design, stair layout, and applicable local requirements. A level should be used to help maintain a consistent installation line.
Can I install a stair handrail myself?
Yes, a basic handrail project may be suitable for an experienced DIY homeowner. However, projects involving unusual stair designs, weak walls, masonry, or structural changes may require professional assistance.
What is the best material for an outdoor handrail?
The best material depends on weather exposure, maintenance needs, design, and budget. Properly finished steel, stainless steel, aluminum, and other weather-resistant options may work well for outdoor applications.
How can I tell if a handrail is securely installed?
A secure handrail should not wobble, twist, or pull away from its mounting points when steady hand pressure is applied. Check every bracket, fastener, and connection after installation and inspect the rail regularly afterward.

Leave a comment
This site is protected by hCaptcha and the hCaptcha Privacy Policy and Terms of Service apply.